DIY Macro Photography: Creating Budget-Friendly Setups for Stunning Shots
Macro photography isn’t just an art form for the high-end camera owners with the latest lenses and accessories. With creativity and a dash of resourcefulness, even the humblest of photography enthusiasts can produce breath-taking close-up images without breaking the bank. This blog post dives deep into the art of DIY macro photography, offering tips and techniques for crafting affordable and effective macro setups that rival professional gear.
The Rise of DIY Macro Photography
The surge of social media platforms where visual content is king has empowered photographers at every level. No longer are enthusiasts confined to the sidelines, watching professionals wield their expensive gear. Instead, an inspiring trend has emerged, where the DIY spirit delivers impressive results, especially in the captivating field of macro photography.
Understanding Macro Photography
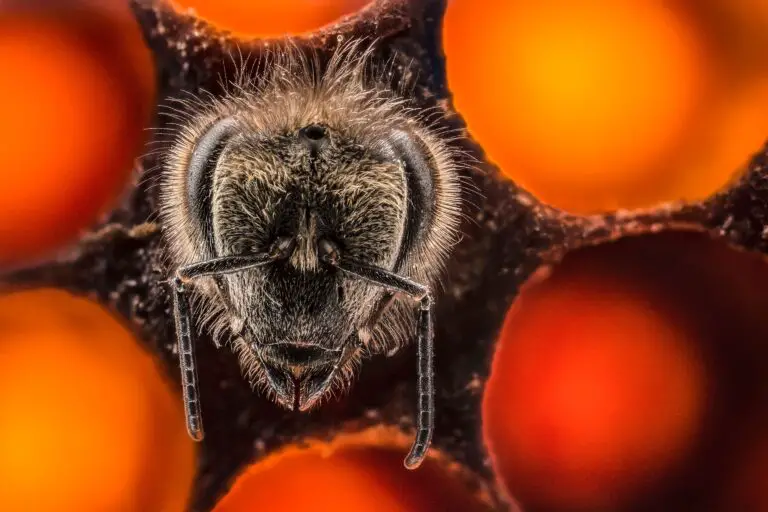
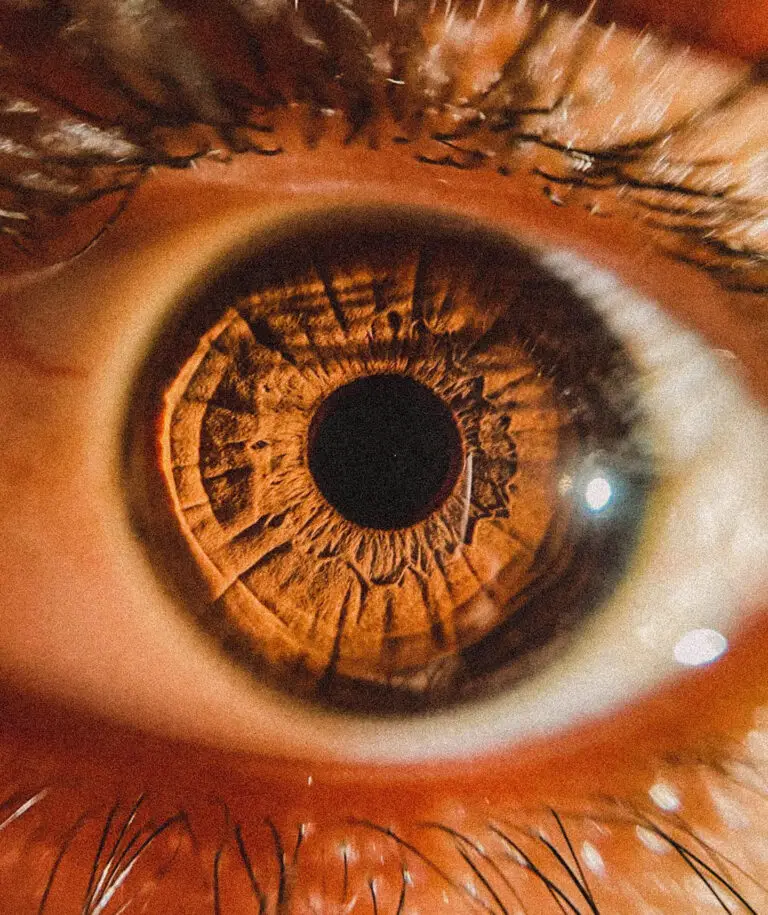
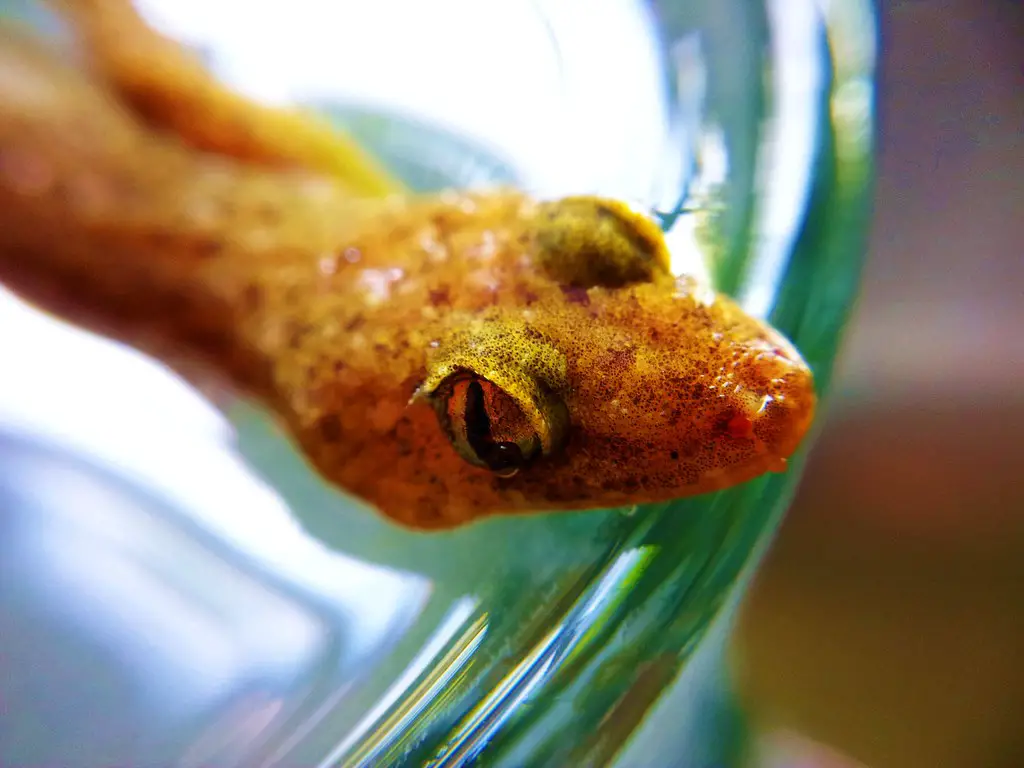
Essential to understanding the beauty of macro photography is to grasp the term itself. ‘Macro’ refers to the art of capturing extreme close-ups of tiny subjects, revealing intricate details invisible to the naked eye. This specialty offers a new perspective, whether you’re documenting the delicate veins of a leaf or witnessing the unseen textures of a household item.
Essential Equipment for DIY Macro Photography
Cameras and Lenses
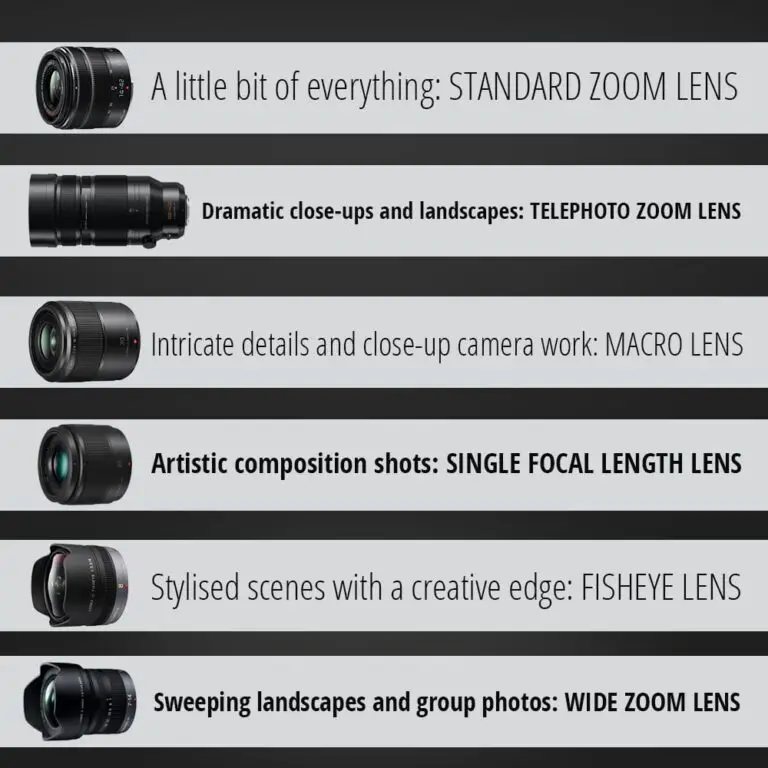
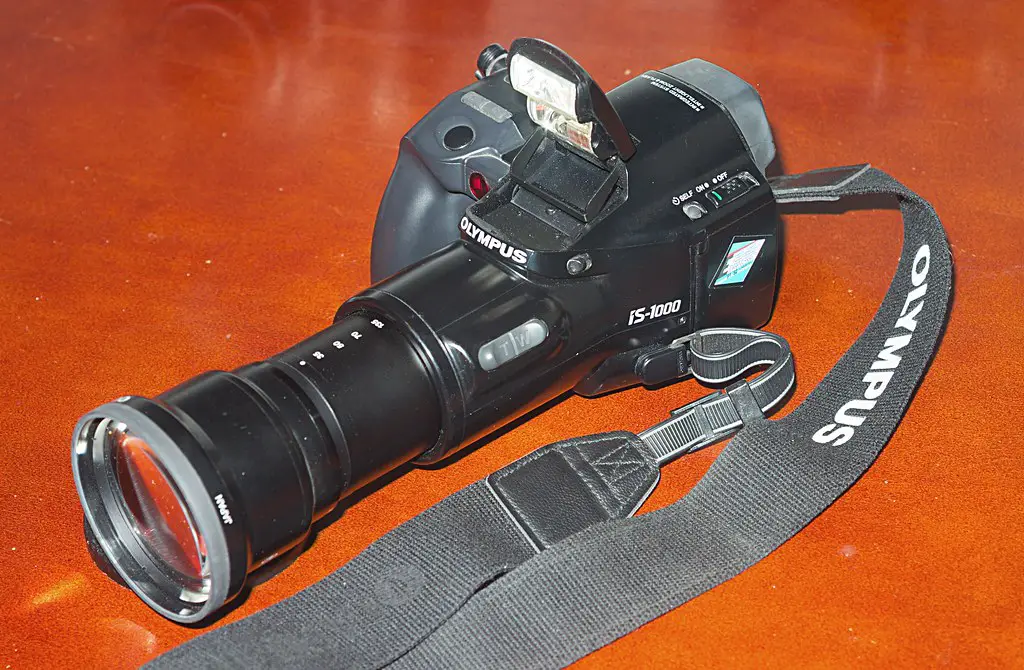
The first step to macro photography is selecting the right camera and lenses. While many DSLR and mirrorless cameras offer macro capabilities, investing in a dedicated macro lens is ideal. If you’re on a budget, extension tubes provide a more affordable means to achieving close distances without compromising image quality.
Lighting Setups
Lighting is crucial in macro photography, as the close proximity to the subject often results in shadow challenges. Off-camera flashes and LED panels are great options for even illumination. For the DIY enthusiast, crafting a softbox from simple materials can work wonders in diffusing light and enhancing texture without harsh shadows.
Tripods
Stability is non-negotiable when taking macro shots. A sturdy tripod not only ensures sharp images but also allows for precision in framing, particularly in shooting small or elusive subjects. Look for tripods with adjustable legs and versatile positioning options to handle the finicky nature of macro photography.
DIY Hacks for Budget-Friendly Macro Setups
Homemade Lightboxes
A lightbox is an enclosure with translucent sides, designed to diffuse light and eliminate shadows. To create your own, all you need are some cardboard boxes, white fabric, and a few LED lights. This DIY lightbox will provide the perfect environment for capturing the intricate details of your macro subjects in rich, even lighting.
Diffusers and Reflectors
Diffusers soften the illumination of your light source, preventing overexposure and creating a more pleasing effect. Simply taping semi-transparent materials, such as parchment paper or even a shower curtain, over your lights can act as diffusers. Reflectors, on the other hand, can be fashioned from white foam boards or even pieces of tin foil to bounce light back onto your subject, eliminating harsh shadows.
Household Items for Creative Effects
Think outside the box, utilizing everyday objects to enhance the visual interest of your macro photos. Condiment jars filled with water can create intriguing lenses for in-camera effects, and colored sheets or tissue paper can be used over your light source to alter the mood of your images.
Techniques for Stunning Macro Shots
Focus Stacking
In macro photography, depth of field is notoriously slim. To combat this, focus stacking involves taking multiple images of the same scene, each with a slightly different focus point, and merging them into one using photo editing software. The result is an image with near-perfect clarity from front to back, showcasing all details of your subject without any loss due to depth of field limitations.
Composition Tips
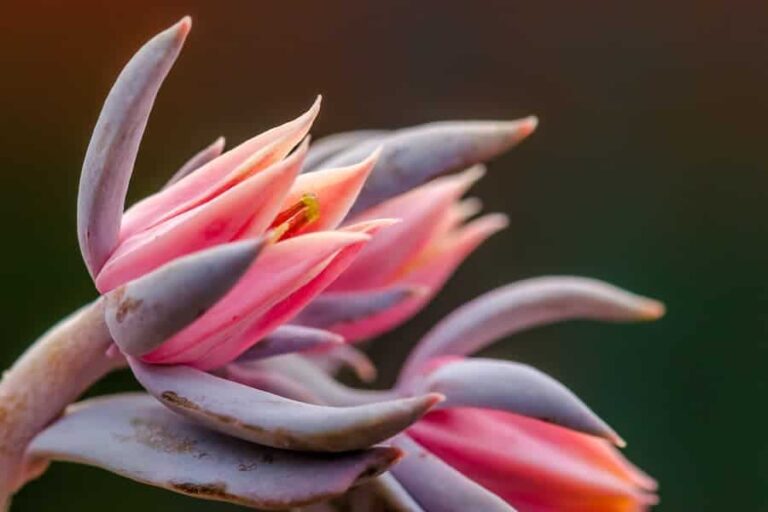
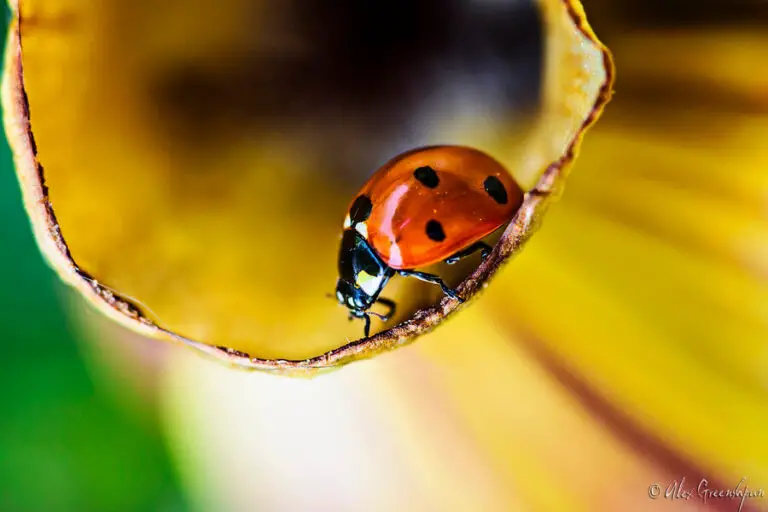
The key to powerful macro photos lies in composition. At such close proximity, the rules of traditional photography often don’t apply. Fill the frame with your subject, making the tiny details the focal point. Don’t be afraid to experiment with angles and framing — getting on the same eye level as your subject can provide a new perspective that resonates with viewers.
Lighting Considerations
With DIY macro setups, lighting control is often in your hands – or your makeshift equipment. Experiment with the direction and softness of light to bring out surface textures and form. Side lighting can create dimension, while an overhead setup can illuminate intricate patterns. The play of light and shadow is particularly important in highlighting the three-dimensional qualities of your subjects.
Tips for Beginners
Setting Up Your DIY Macro Station
Begin by choosing a dedicated area where your macro station can remain set up. Ensure you have ample space to work comfortably. Position your lightbox or diffusers, set up your camera on the tripod, and start testing different arrangements until you achieve the desired lighting and composition.
Troubleshooting Common Issues
It’s not uncommon to face challenges such as unwanted reflections, inadequate lighting, or difficulty in achieving focus. Remember, macro photography is as much about problem-solving as it is about capturing stunning shots. Reflect on the principles outlined in this post, and don’t hesitate to adjust and adapt your setup as needed.
Conclusion
Encouragement rings through the lens of DIY macro photography as an approachable, compelling endeavor for all shutterbugs. By leveraging makeshift materials and resourcefulness, you can unlock a world of detail that lies just beyond our everyday gaze. Challenge yourself to experiment with the DIY macro setups described in this blog post, and watch as your portfolio expands with awe-inspiring close-ups that rival those captured with professional-grade equipment. After all, the beauty of macro photography lies not in the gear, but in the ingenuity and passion of the photographer.